

Why you’re here
Discover captures and structures everything from day one, and Snapshot is where that starts. It’s the shared profile of business context, org shape, technology, processes, and active initiatives that you build up from the first conversation forward. During a live discovery call, you can share your screen and capture business context, goals, and challenges with the customer in the room, then let the AI assistant organize the notes into the right sections afterwards — saving 10–15 minutes per call on note organization and reducing duplication across tools. Everything you capture here travels forward into Qualify and Plan, so later stages start with facts instead of guesses. Discovery becomes structured — not scattered. You don’t just capture problems, you start shaping solutions early.What you’ll see
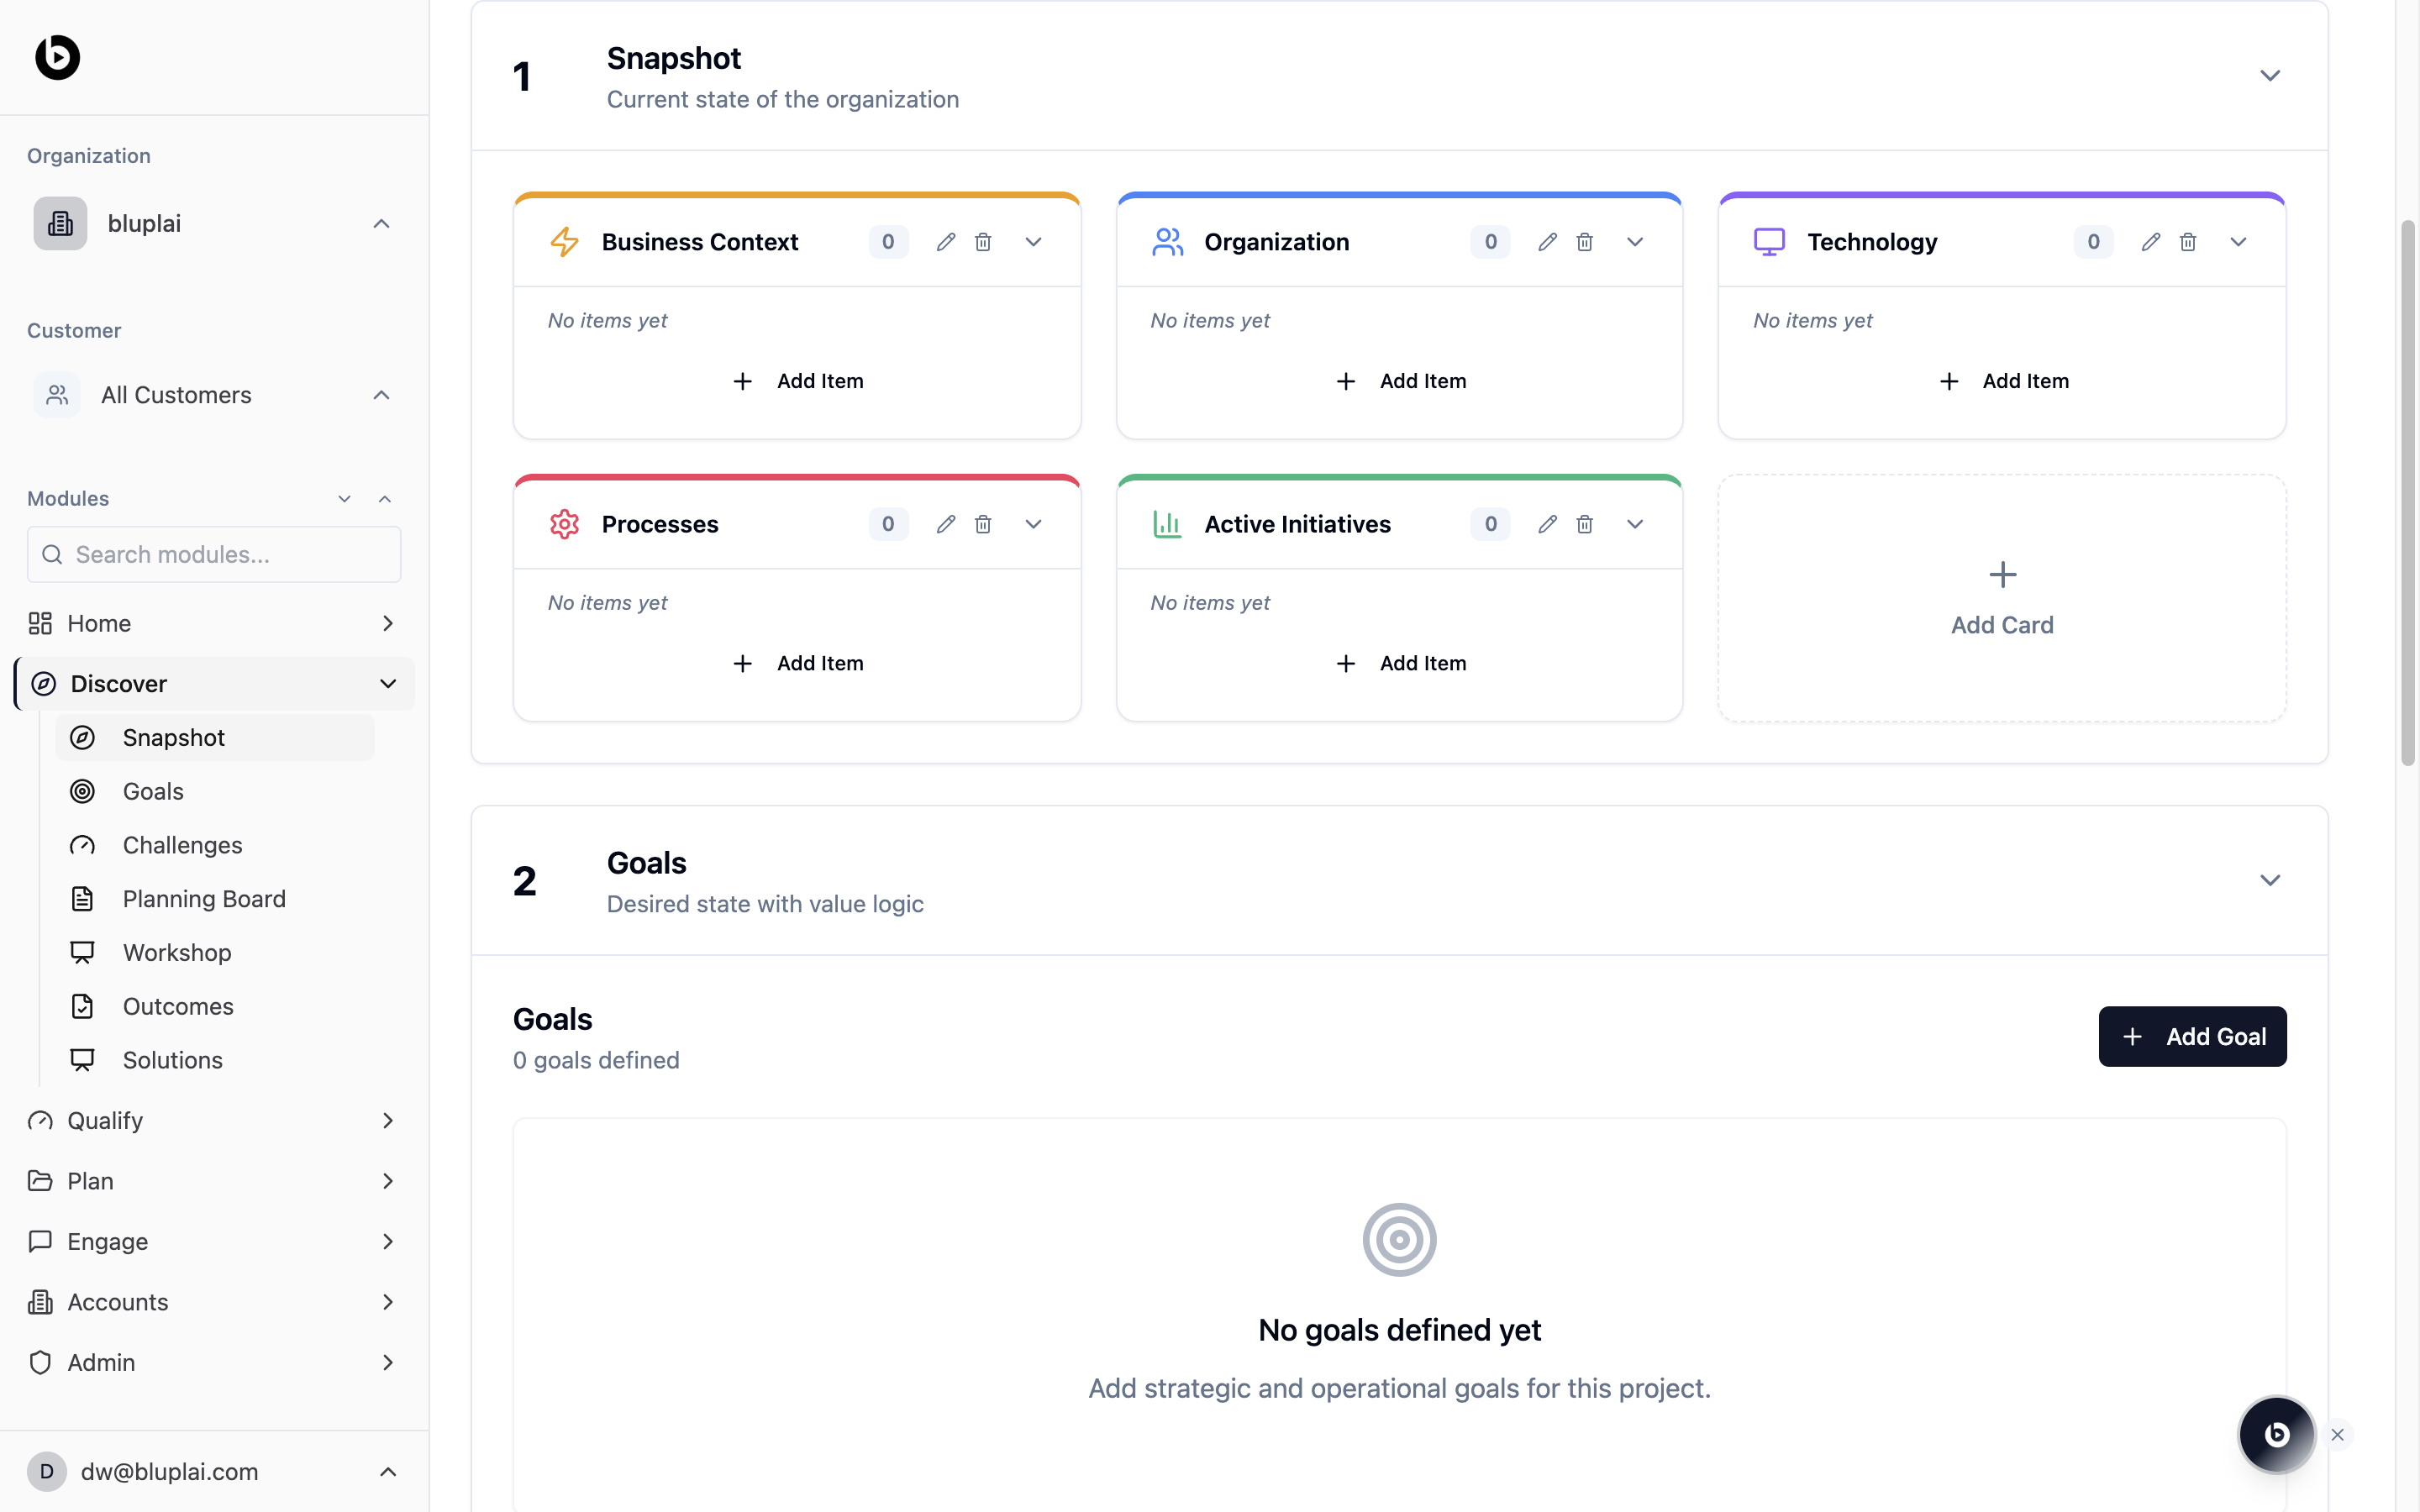
The section header reads “1 Snapshot — Current state of the organization.” Underneath sits a grid of five colored cards:- Business Context — yellow accent, lightning-bolt icon.
- Organization — blue accent, people icon.
- Technology — purple accent, monitor icon.
- Processes — red accent, cube icon.
- Active Initiatives — green accent, chart icon.
Adding a snapshot item
Why you’d add one
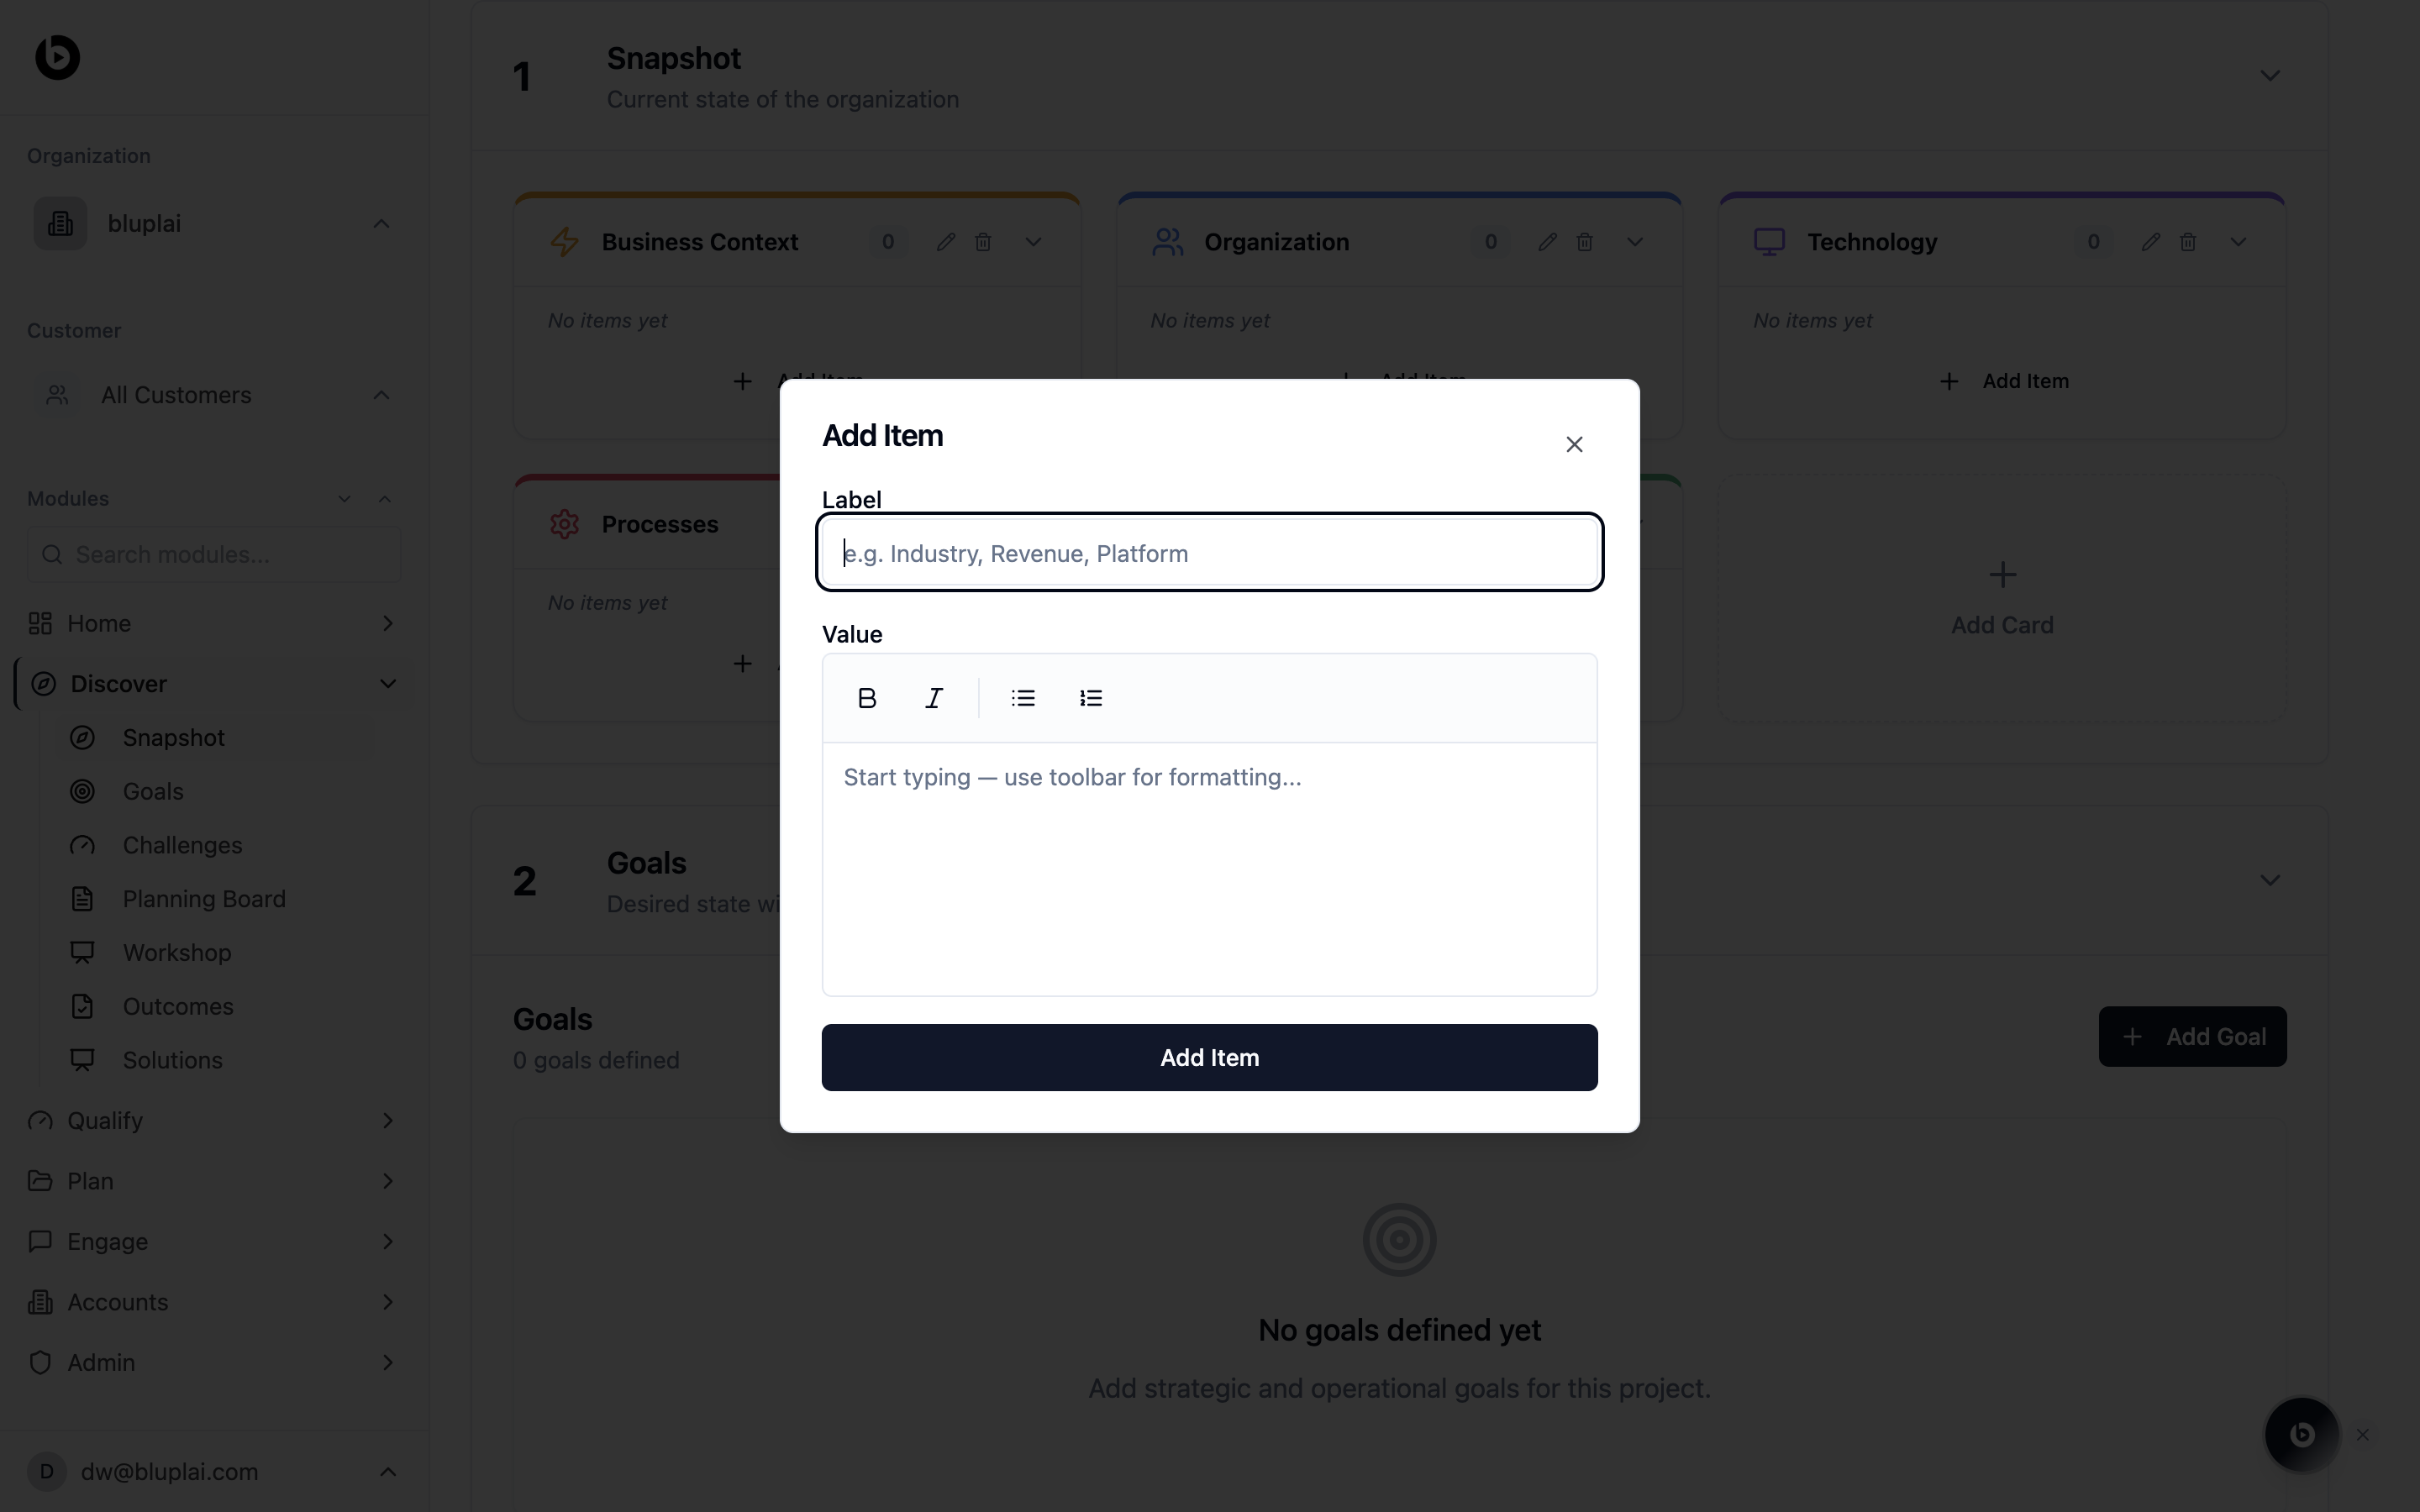
A snapshot item is a single fact about the current state of the customer — their industry, revenue, tech stack, org size, or an active initiative. Each item you add builds up the shared profile that Qualify uses to frame the opportunity and Plan uses to scope delivery work.How to add one
Open the Add Item dialog
From
/discovery?section=snapshot, click + Add Item on the snapshot card you want to extend (Business Context, Organization, Technology, Processes, or Active Initiatives). The item is saved to that card.What happens after
Snapshot items travel with the customer profile into Qualify, where they shape how the opportunity is framed and sized, and into Plan, where they inform scope and feasibility for initiatives.When to use it
- Kicking off a new customer engagement and filling in what you already know from pre-call research.
- After a discovery call, logging new facts about the buyer’s tech stack, team structure, or existing initiatives.
- Cleaning up the profile before handing off from sales to CS so the next person has full context.
- Adding a new snapshot category (via + Add Card) when the customer’s business doesn’t fit the default five.
Next
Goals
Move from current state to desired state — log the outcomes the customer wants.
Challenges
Capture the friction points standing in the way of those goals.